July 6, 2021
How to make the most out of your ValPal leads
If you aren’t already familiar with The Valpal Network, it is a vendor and landlord lead generation tool for Estate Agents in the UK. If you already use the tool, you will know how valuable the data it generates is. Full name, address, and contact details of a homeowner interested in knowing the sales value of their property- and even better; they have chosen your Estate Agency not only to gain the data but to also provide their data to.
If you are familiar with ValPal, you will know how valuable this data is. Full name, address, and contact details of a homeowner interested in knowing the sales value of their property- and even better, they have chosen your estate agency to gain this information.
But if the lead doesn’t initially convert, do you have anything planned to nurture the potential vendor, and keep your agency at the forefront of their minds?
This is where Valpal X Zapier X Mailchimp comes into play.
We have previously written about creating a Mailchimp automated journey to nurture any potential vendors you have. ValPal is integrated with Zapier- an online automation tool that can create ‘zaps’ between data from thousands of apps. One of the options is creating a zap from ValPal leads to any of the other available apps. In this instance, we will be showing you how to create a zap between Valpal leads and Mailchimp.
Firstly, it is important to know that ValPal is not a public app; it is available by invitation only so don’t panic if you can’t find the app on your account. The best way to get started is to contact your account manager and ask for a Zapier invitation.
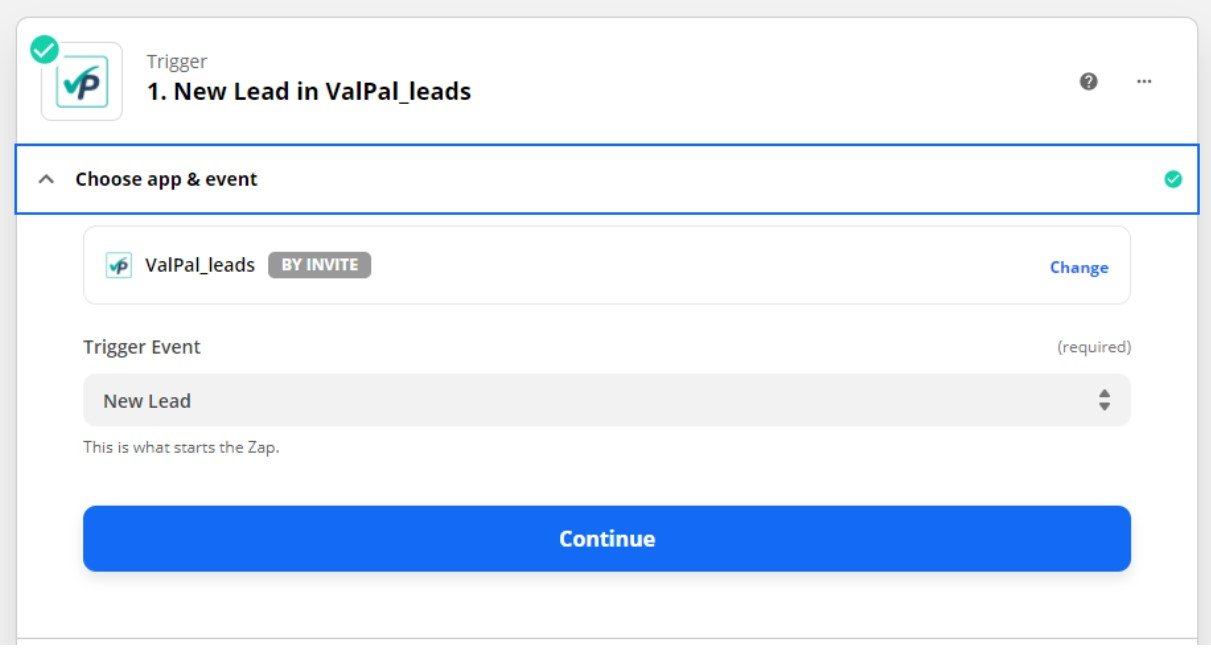
Once accepted, click ‘Create a Zap’ and choose ValPal as the trigger app. For the trigger event, select the option ‘New Lead’. You will then be required to log in to your Valpal account, and the trigger on your last lead will be tested.

In the next section, choose Mailchimp as your action app, and then select ‘add/update subscriber’. Again, you will then be required to log in to your Mailchimp account.
From here, you can choose where you would like the leads to go within your Mailchimp audience, and then test the action to make sure the data appears where you’d wish it to within Mailchimp.
Once the zap has been set up, all data from your Valpal leads will automatically be added to your Mailchimp audience. What you choose to do next with this information is up to you.
We recommend creating an automated journey with the objective being to nurture users, which the potential vendors will be entered into after submitting their information to Valpal. You can then track email activity and find out how warm your leads are.
It is important to note, whichever tag is required to be entered into the automated journey in Mailchimp needs to be added to the ValPal zap. For example, if the Mailchimp journey is created to include all contacts tagged ‘Sales’, you will need to make sure the leads going into Mailchimp are also tagged ‘Sales’.
If you have any further ideas on nurturing your leads, we would love to hear them! Email [email protected]


